A simple walkthrough on how you go about creating lowpoly Ivy meshes to decorate a scene with.
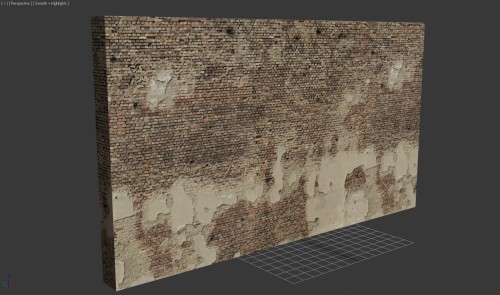
This is the bare wall we will be decorating with some ivy.
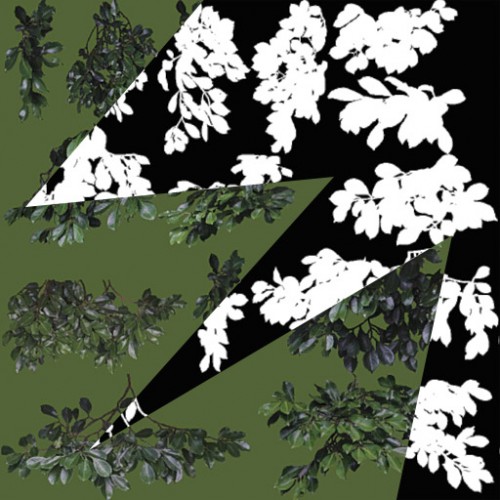
The hardest part in the entire process is actually coming up with good textures. You need a diffuse map, for color. Notice how a green background color was used, to prevent color bleed at the edges, very important. The opacity map is just simple black and white. Creating the opacitymap can be a lot of work, so consider tricks such as desaturating the images and playing with brightness contrast as well as inverting. Also, looking at the Red, Green or Blue channel and using that as a start for the opacity map can be a huge timesaver, especially the green channel since the plants will mostly be green. The textures I use here are from Unreal Tournament 3, and serve just to illustrate the point of this tutorial.
You can group a few separate bits of plant onto one file. It’s actually recommended to do this, since you’ll use less texturespace and have more variation to work with.
Once the textures are done, I create a material in Max with both texturemaps.
Then, I create a plane and assign this material to it. It’s important that the plane has a few subdivisions.
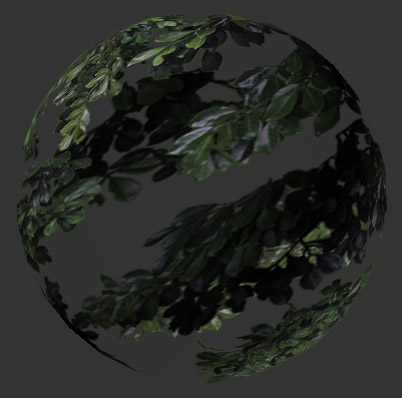
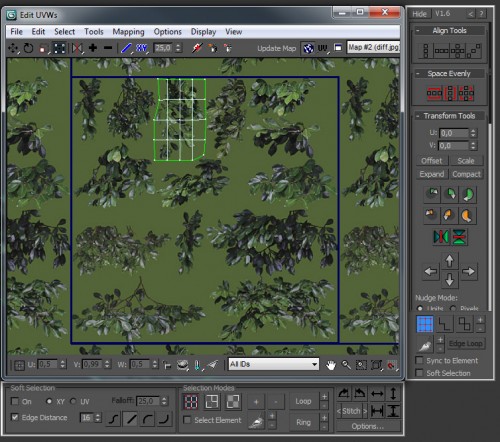
The first method to Uv this plane, is to just Use UV unwrap and align the mesh onto a matching part of the texture. Moving the points around actually stretches the texture, so this is not the best method.
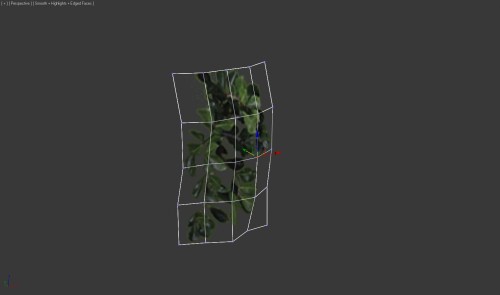
Once UV’ed, I rotate the plane upwards and moves the vertices around a bit to give the mesh thickness.
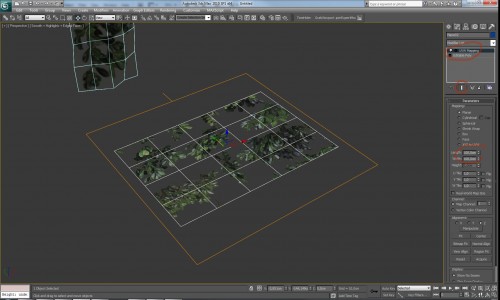
Another method is to use a UVW Map modifier on your plane. Set it to square proportions. In the editable poly underneath, I turned on “Show End Result”. This means, I can change the shape, and will still see the correct Uv’s.
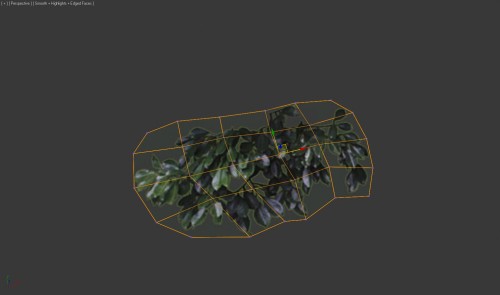
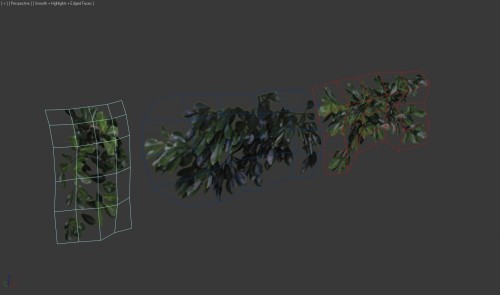
Here I moved the vertices around so they fit nicely around a piece of the texture. This method is a lot better, because you can change the mesh shape and UV’s at the same time, without stretching!
I repeated the same proces of moving points to add depth, and created a third ivy mesh. You can go all the way and create 20 different varaitions, but about 5 should be enough most of the time.
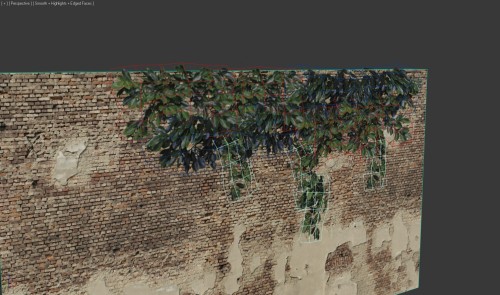
All I did then, was move and copy the meshes around. Sometimes I mirrorred them, sometimes they were scaled a little bit. They overlap and intersect a few times. You have to take care they don’t clip into the wall, as this can look fake.
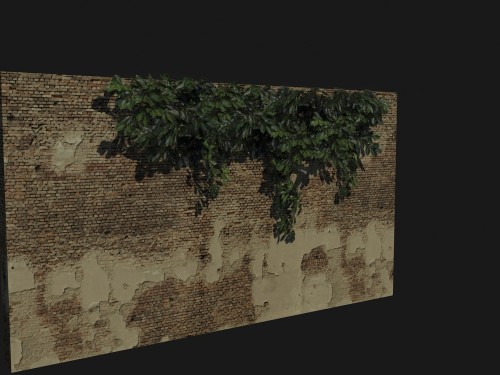
The rendered result looks like this. Only 3 different meshes can look convincing already. It’s important to note that this was rendered with Ray Traced Shadows, the only type of shadows that will cast correct shadows (using the opacity map instead of geometry).

Leave a Reply
Want to join the discussion?Feel free to contribute!