VZ61
CZ Samopal VZ61 Skorpion
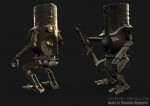
Lowpoly model of a Czech VZ61 submachinegun. Model has about 4800 tri’s and uses a 2048 textureset. This was made as an exercise on normalmapping workflow. All shots are realtime using my own shader.
Images


Lowpoly model of a Czech VZ61 submachinegun. Model has about 4800 tri’s and uses a 2048 textureset. This was made as an exercise on normalmapping workflow. All shots are realtime using my own shader.
This is a small article to illustrate how you can set-up a 3DS Max file as a realtime showcase with my Viewport shader. This is not a walk-through tutorial to show you every button, it’s intended to offer some insight and tips on the settings that are at your disposal when using these tools.
I’ll be explaining how me and Thanez set up this image, grabbed straight from Max’ viewport with Tools > Grab Viewport:

Model in question is an AKS74U created by Llama and Thanez for Source. I chose this as a subject because it’s not too complex to set up and still serves as a good introductory example.
Important is to set up your lights decently. Use at least 2 for a showcase, and in this case Thanez made an interesting 3-light setup with a strong blue light from the top to simulate the sky, with two softer, warm lights to fill up the sides.


Biggest part of setting up a showcase scene, is setting the parameters right. Note how the number of Active Lights at the bottom, was set to 3. Every Light Position dropdown list, was filled with one of the 3 lights in the scene. Half Lambert was turned on to get a softer shading, but this is by no means necessary: the effect is minimal in this scene.
Ambient set up is a bit more complex. I chose to set up a cubemap for Image Based (IBL) ambient light. Instead of loading a separate cubemap, I enabled the option of just reusing the cubemap loaded in the fresnel section, which we’ll go over later. If you don’t do this, you can just use IBL cubemap slot to load one. Ambient cube blur was set to 6.0, which is mostly a good value, but this depends on the resolution of your cubemap. IBL cubes need to be blurred very hard to make sure the offer very generic, blurry lighting conditions. Strength was left at default 0.5, since this worked nicely.

Setting up the maps is a vital part of defining the shader. This is very straightforward and consists only of loading the correct file in the correct slot, while not forgetting to enable the map by checking the tickbox. Thanez doesn’t have a separate specular map, so we just use the diffuse.
Note that you pretty much always need to tick “Flip Green” to have the normalmap show up correctly; Max interprets the green channel different than other applications.
 Fresnel effects are one of the unique features of my shader that can really help push things to another level. Fresnel effects are mostly, but not limited to reflections and settings to fake them. I enabled the global tickbox to have them show up in the viewport.
The fresnel settings are tweaked a lot for this specific object and cubemap: a high fresnel power is useful for minimizing the size of the reflecting rim. A small bias value makes sure there is some uniform reflection all over the surface of the object. The multiplier was increased a lot since Thanez’ specmap (which is actually the diffuse) is very dark and would hide the reflections if the multiplier was left at 1,0.
I have also loaded a cubemap that I converted from a collection of HDRI’s that Dosch Design sells (I can’t offer this one for download due to legal reasons, but you can get other cubemaps of my shader page). The final setting I tweaked, is the cubemap blur. This is actually a very important one; without it, the reflections would be sharp and crispy, like carpaint or chrome. For bumpy, worn metal, we want very blurry reflections, thus the blur value needed to be increased.
A nice effect that helps push things further, is a Bloom post-process. When used subtly, it adds a lot to an image, especially a showcase like this.
Max has an interface for this, called the Scene Effect Loader. This is an old system that has its quirks and is pretty much only useful for bloom. It can be accessed through the Utility panel. I have added into the list of preset utilities with the little button at the top right.
When the Scene Effect Loader is open, you can press “Load Effect” to load a post-pro effect shader. Max has a few default ones (of which only a few still work) which are located in the “3DS Max/maps/fx/scene” directory. I loaded up post_bloom.fx. You enable the post effects by ticking the “Scene Effects” checkbox.
The problem with post_bloom, is that the default settings are total rubbish. To access and edit them, you need to select an empty material slot in the editor, and double click the post_bloom entry in the Post Effects list of the Scene Effect Loader. The post_bloom shader should be instanced into the empty slot.
My settings are illustrated below and should work for almost every scene, give or take a few decimals.

This is a special page, dedicated to frequently asked questions regarding my shader. I see the same ones return all the time, so I will answer them here.
It’s not difficult to load a DirectX shader in Max. Here’s a small guide I took directly from Jeroen Maton:


For Maya, the procedure is not difficult, but less transparent.
 Check both boxes next to hlslShader.mll to enable the use of the plugin for this and future sessions.
This is a big question that can have many causes:
If other meshes become invisible behind meshes that have opacity maps, this is actually a problem inherent to realtime rendering. You program needs to sort the order in which meshes are drawn, to prevent these sort of invisibility problems. 3DS Max unfortunately doesn’t do this. You can try to work around this, by forcing Max to draw the problematic object last; you do this by duplicating it and deleting the old object, making it the newest created object and thus last drawn. If this doesn’t work: make sure it’s not linked to another object: linking influences the drawing order.If you have some strange translucency issues in Max 2010, you might need to change the viewport settings between Good and Best quality, as well as change the translucency quality to “None”.
In short: this is a problem with 3DS Max, I can’t do much about it.
You can’t have shadows in maya, just Max.
The following image illustrates how to do this in Max 2008 -2009:

In Max 2010-2011 it’s much simpeler. After enabling shadows on a light:

It’s a macroscript. that means you run it once and it defines an action that you can bind to a hotkey or custom button. Go to Customize > Customize User Interface. In the “Tools” Category you can find the entry created by the script, it is called “Grab Viewport”, without the ellipsis (… three dots) behind it. I recommend adding it to a custom toolbar to which you can add buttons for other usefull scripts.
This is an issue created by Autodesk, it is fixed by a few updates and hotfixes. Install all of them: 3Ds Max Updates
This is a known problem. It will probably not be fixed anymore. I would need to rewrite a lot of the light code (and make it less performant) just to support a program that is already 4 years old by now. I don’t see this as a viable option. I suggest you upgrade to a newer version of max if you can not live with this problem.
I was a little shocked to read that GRIN is no more. One of the videogame developers I really liked, I tried very hard to do my internship there but that didn’t work out. The idea of maybe working there someday still might have lumbered in the back of my head somewhere I guess. And now they’re no more.
What makes it extra sad, is looking at Bram Eulaers, aka Peris portfolio and seeing the work he made for GRIN’s “unfinished masterpiece”. That has to be some of the best environment work I’ve seen so far.
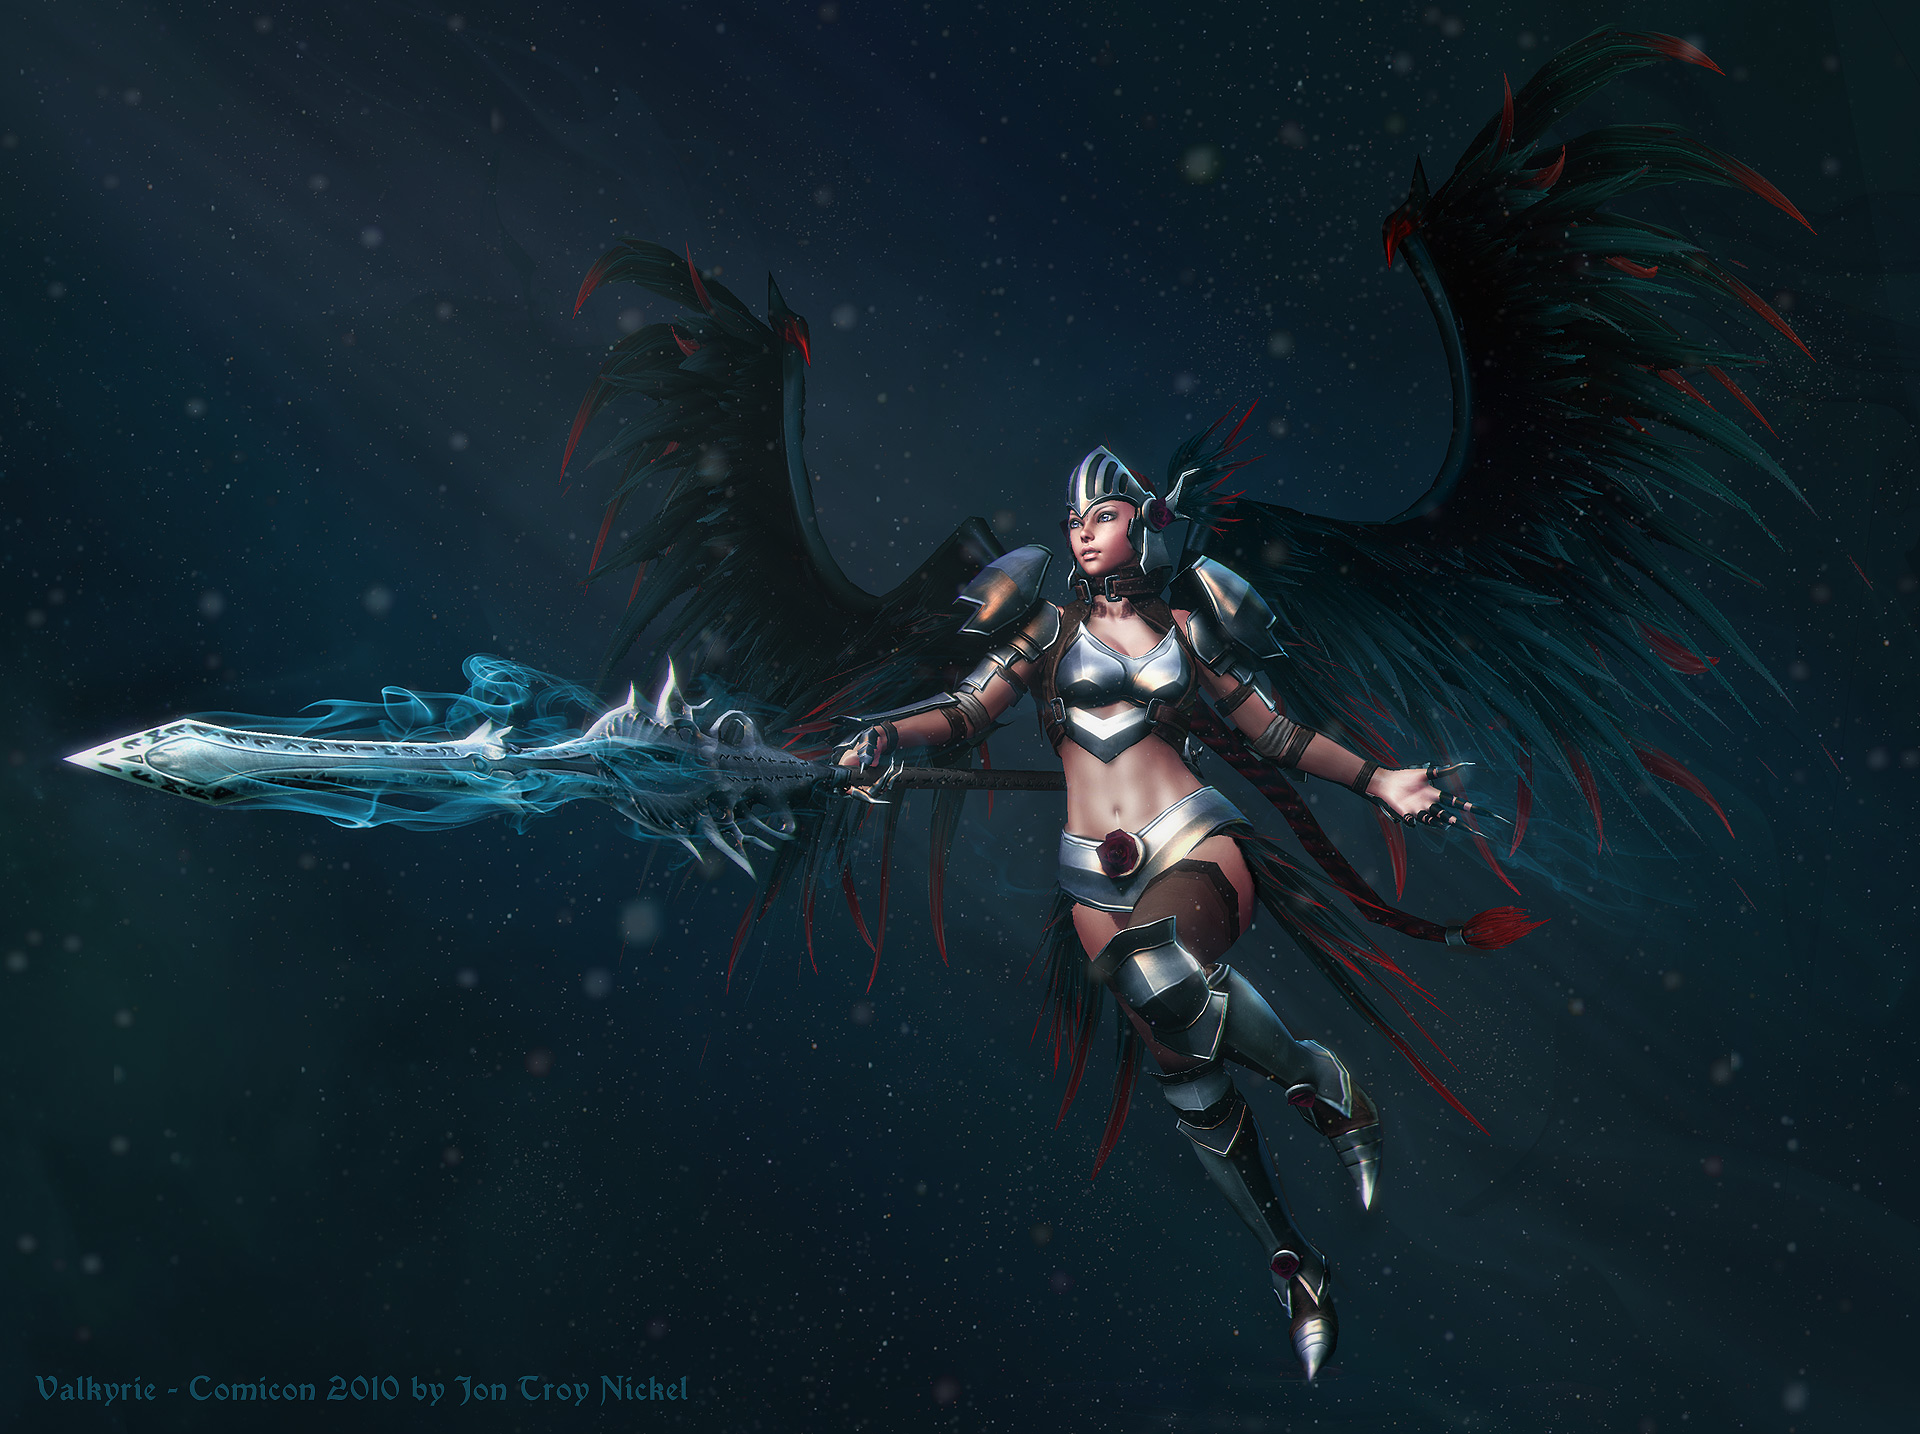
These example images showcase what my shader is capable of. Since I use my shader in my own portfolio pieces whenever I can, I try to showcase other people’s work here. If you created something awesome with my shader, I’d love to see it and perhaps even add it to the gallery!

Lowpoly GT500 model after the car Will Smith drives in the opening scene of I Am Legend.
The car has 12.300 tri’s and uses a 1024×512 textureset for the body and a 512×512 for the wheels. Texturesets include diffuse, specular and normal.
All images are realtime, taken in Max 2010 using a HLSL shader I wrote myself. Background is a photograph.


The Volvo TP21 Sugge, aka RadioPersonTerrangBil 915 is a 1956 Swedish army Radio Command vehicle built by Volvo. I took a few artistic liberties by adding The Hellacopters’ logo on the sides, for a touch of Rock ‘n Roll.
This is a lowpoly portfolio piece, totalling 4050 tri’s, using 3 texture sets with sizes ranging between 1024 and 512. All sets have specular and normalmaps next to diffuse.
Rendered realtime using Max 2010 viewport, with my own shader.


A highpoly model of Italdesgn-Giugiaro’s masterpiece, the 1995 Lamborghini Cala prototype.
About 3 Million tri’s, rendered with Vray.


The goal of this article is to adress some basic rendering and presentation issues that are commonly ignored by starting artists. They mostly apply to both software and realtime rendering.
Everything starts with this. Choose a camera angle that frames your subject clearly and is at least somewhat aesthetically acceptable. Good pictures of a similar subjct can help you if you want to push this far.
First find a good angle in your viewport by freely navigating, then place the camera with Ctrl+C. After this you can add a tilt to the camera and do some final adjustments.
Apart from advanced settings like Global Illumination and light-tracing, there are a few settings you should never ignore. Always set your resolution high enough. 640 x 480 is the absolute minimum, 800 x 600 is preferable if you want things to be well visible. Consider using a different aspect, such as 16:9 instead of standard 4:3.
Secondly, this one can be really bothersome for the viewer: your antialiasing filter/sampler, when rendering with an software render engine. By default this one is set to the Area filter, which can look terribly blury and amateuristic. It is common for people with little insight to tweak the Area filter’s blur setting, making things even worse. Catmull-Rom is always a safe bet as an AA filter. If you use Vray, more filters will be available; Lanczos and Mitchell-Netravali are also quite good.
Lastly, when using Scanline renderer, it’s always best to use Global Supersamplers, since they make sure your textures are displayed crisper and clearer.
As a rule of thumb: NEVER use only pure black as background color, unless you know what your are doing and prefer this (98% of cases you won’t need it). Try dark grey, it always looks good. Placing some sort of simple plane with a good texture can really make your model seem more believable and isn’t much work to set up.
Even when presenting a Work In Progress, you should pay attention to your materials. “Clay” material, gray with slight specular, is preferable when presenting your model’s shape. If you want to show a wireframe, use viewport grab in Edged Faces mode: maximise the viewport and use Tools>Grab Viewport. Gray is also preferable when presenting wires, and I personally like black as the wireframe color, white also works.
I won’t go further than these basic tips, materials deserve a guide by themselves, and are really dependant on your method (realtime/software).
When presenting a model, try to never use default lighting. Light is an entire topic by itself, but there are some safe solutions. When rendering offline, clay models look good with an indirect light such as a skylight, but you can also use the much faster E-Light. You can push this further and use a direct light to bring the shape forward even more.
Another method, which works well for realtime models, is to use a few (colored) omni lights. Use a Keylight from the front and one or more colored rimlight to define the shape by backlighting it.
Also try not to forget to use shadows. Especially when using a groundplane on which your model stands, you should use some form of shadows.
This one can be overlooked easily: never forget to save your render decently. Never use anything else than JPG quality 100 in Max! It’s even better to save as TGA or BMP first and then resaving it as JPG in Photoshop (Photoshop’s Jpg compression algorithm is far superior to that of 3DS Max, if onyl for reducing the filesize vastly). Definitely save as TGA first when your image contains a lot of bordering red and black, JPG is notorious for having problems with this.
The following is an example where on the first one, everything is wrong and on the second one, I’ve tried to apply all tips. I adjusted the bad version into the good version in under 5 minutes, to display how easy and non time-consuming it is to pay attention to this.


This guide aims to explain a few issues regarding Ambient Occlusion (AO) baking that aren’t adressed much elsewhere, as well as show some to actually bake AO in 3DS Max.
Ambient Occlusion baking is the act of rendering the global occlusion of an object, to a texture, via its UV coordinates, This means your object must be completely unwrapped before you can attemp baking AO. It’s actually even necessary to keep AO baking in mind when UV’ing your model, mostly in regard to overlapping and sharing UV space. In general, you can’t share UV space when you bake AO, but there are many ways around this. I’ll go over the problems and discuss a solution.
The first problem is straight forward: if a pixel of a texture is used twice by a polygon’s UV coordinates, your baking process will write to that pixel twice, overwriting previous information. This isn’t always a problem, but can result in weird facetted bakes that are completely unuseable. Since you should always strive to make the most out of your UV space, uniquely unwrapping the otherwise overlapping parts is not a solution for this. The baking process is clearly the only problem here. The solution is to offset your overlapping parts. You move one or more of the overlapping parts (so there’s only one polygon occupying the UV space) exactly 1 UV unit aside. This makes sure there is no more overwriting. Out of bounds texture coordinates are wrapped back during texture lookups, but not during rendering to texture, fixing our problem. This offsetting is made easy when you use the Unwraptools v1.50 from sloft.net, which has a move type-in that allows you to move selected vertixes for exactly 1 unit.

Example of artifacts due to overlapped rendering

Offset UV coordinates with Unwraptools 1.50
Symmetrical objects can easily share AO texturespace, al you have to do is mirror their UV coordinates. Problems arise when the AO baked onto the texture, is not correct for each side. Imagine a car bumper, where each half shares the same texturespace. Now if there is some sort of detail in front of only one half of the bumper, you might end up with a black spot on the other half of your texture, even though there is no occluding geometry there. In such a simple case, it’s enough to only bake the half without occluding geometry and trade off some accuracy in your AO maps. More complex problems arise when you have object that are really different in terms of occlusion, use the same space. Depending on how wrong the bake is, you might even have to completely overpaint small parts of you baked AO. Just try to keep it really generic in terms of occlusion, just some simple shading that works for all geometry using the texturespace.

Illustration of problems with non-symmetrical models unwrapped symmetrically. The right image shows the corrected version, where the offset and non-offset UV-parts were simply switched around.
Now that these things are done and over with, we can go over to the main focus of this article: AO baking methods in 3DS Max. I presume you already know how to use the Render-to-texture interface and know your way around some rendersettings in Max. For Vray, rollouts are the bars you can click to expand their content.
The rendertimes I list for each example are with a 3.3Ghz Intel quadcore cpu, the difference in speed might be a lot bigger with slower CPU’s.
This is one of the simplest methods to which everyone has access.
Downsides of this method are that it’s not especially fast, and that intersecting geometry is not anti-aliased when rendering the sections to texture (can look ugly). I personally never use it because of this.

This method is even simpler to set up and doesn’t require any materials.
Downsides: Quite slow if you want decent quality (more than 64 samples), especially slow if you want it noise-free.

This method yields the same results, it’s just different to set up.
Downsides: same as MR AO element, bit more work to set up and you need to overwrite your object’s materials.

For this method you need the Vray renderengine, at least v1.50.
This method is actually the fastest one I know. It’s not really accurate however, since it’s not full occlusion as it only looks at geometry and doesn’t do any raytracing like the previous methods. I think it’s one of the most straightforward ones to render, yet you still have all the extra control over quality that Vray offers.
This one also requires Vray. It’s quite difficult and long to set up compared to other methods.
This method is my preferred way for full quality renders. A huge advantage is that it actually takes normalmaps into account when rendering your AO, making for much more correct AOmaps.
It is however slower than all the others, yet allows full control over pretty much everything. Unlike the scanline and MR methods, you can change every setting. This method is also not limited to using Irradiance Map as the primary bounce engine, you can try and use other ones just as well, there’s a lot of stuff there to use. Might want to read these tutorials if you decide to do so (they have taught me a lot!).


